
Make Old Laptop As Server
I had a working old laptop and was itching to do something with it. And then I decided to turn it into a personal home server. This post will also work on any machine, you just need a monitor,keyboard,ethernet cable and an USB port.Let’s start!
1. Choosing an Operating System
When we hear about servers one thing that comes in our mind is Linux.Some of them do run windows but I’d personally go with Linux. Because it’s fast, has a whole community and is open source( an I’ve been using Linux for past 1 year )Before choosing an operating system I’d like to share my machine’s specification :
4 GB RAM,Intel core 2 duo processor, 512 GB HDD.
Which Flavor of Linux to choose from?
Many people are confused while migrating from windows or mac OS to Linux platform.
This is because Linux itself has many flavors but most of them are based on
1.Debian
2.Arch
3.Red Hat
So which one to go with?
I’ve Tried all three of them and for beginners the most recommended system is any Debian based OS ( Ubuntu, Kali, Debian , Lubuntu, ParrotOS,Mint)
Most of the servers work on RHEL(Red Hat Enterprise Linux) and its flavors such as CentOS or Fedora.
Why didn't I go with CentOS?
CentOS is based on RHEL which is quite tricky for beginners also my system is old and has low end hardware. That is the reason why I selected Ubuntu server for my machine.
See Also- Hacking Practice Online
2. Downloading Ubuntu Server 20.04 and making a live bootable USB
Download the ubuntu server from the following linkAfter downloading it, ensure you have an empty usb device to make it bootable.
If you are using windows download rufus software and run it.
Google if you have any problems while making bootable usb with rufus as it is pretty easy.
For Linux Users download any usb Image writer tool and you are good to go.
3. Booting into the USB and setting up the Server.
Make sure that your files are moved to another computer as we are using the whole space for our server. We are going to erase the entire disk for the same purpose.Plug in the live bootable usb and start the machine. Press F12 to go to boot options. Select the USB option and click enter.
Use arrow keys and the enter key to select options.
After Few seconds there will be an option to choose your language.
See Also -Top Hacking Tools
Welcome Screen

Select your language (English) and click enter.

WebCam For Cell
Keyboard Configuration
Select Keyboard type English US and click enter.(Now here comes the tricky part.)
Network Connections

If you have plugged in your ethernet cable from your wifi Router you don’t really have to worry a lot. The installer will automatically detect the DHCP settings from the router and you just have to click enter. But if you don’t have any ethernet cable you have to go through a series of package installations only to connect to internet.
Configure Proxy
If your system requires any http proxy to connect to the internet enter the proxy address otherwise, just click on Done.Guided Storage Configurations
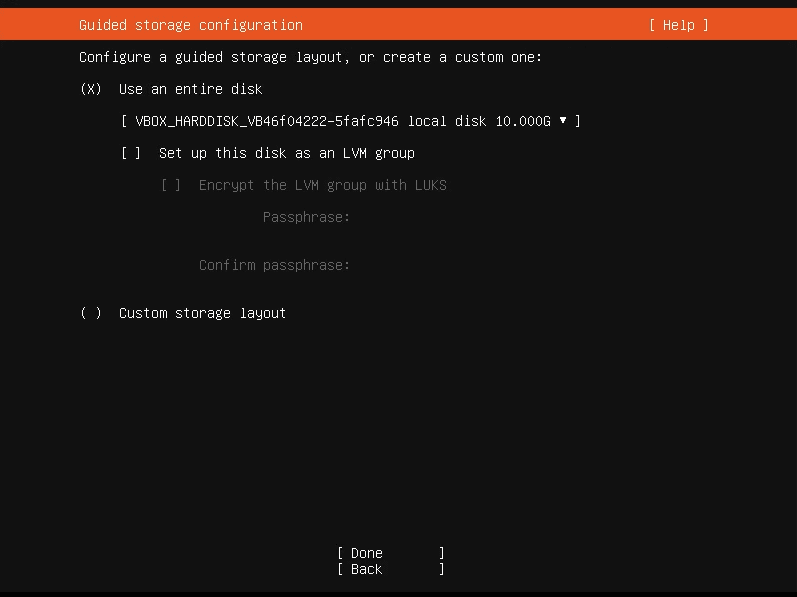
As mentioned earlier we are going to utilize the entire HDD space for our home server and that's why select Use and Entire Disk option and click on done.
Storage Configuration

Your Hard disk space will be now divided into two partitions: one for the operating system itself and the other for GRUB Bootloader.
Review your settings and click on done.
Profile Setup
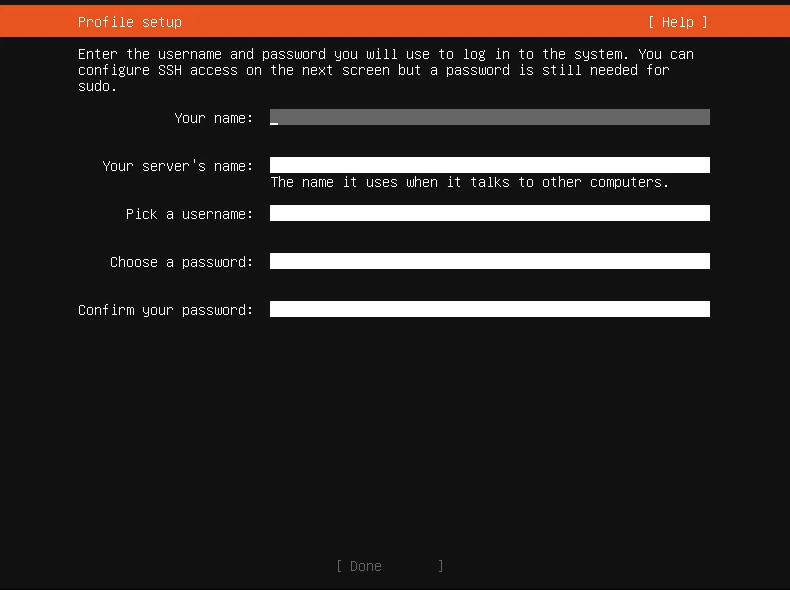
Enter your name , Your Server’s name(this name will be visible to other devices) , Your username and password. Click on done.
SSH setup
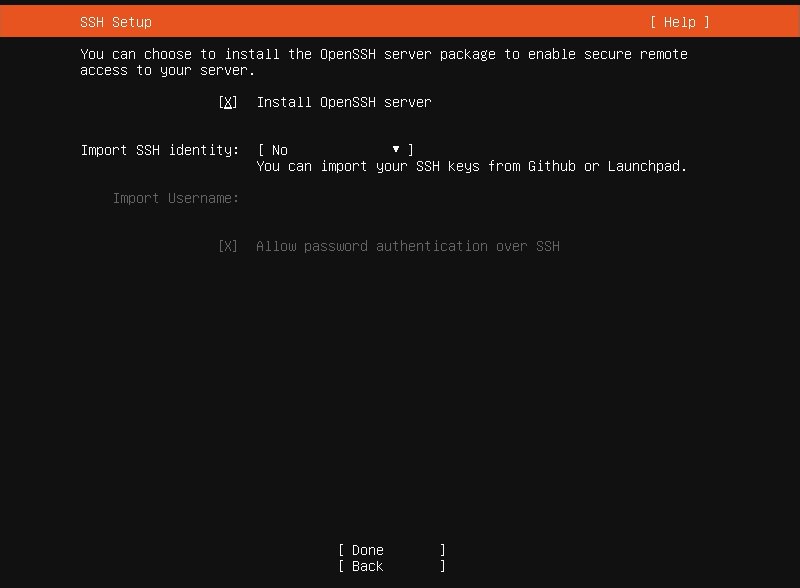
Select on Install OpenSSH server because that’s how you will connect to your server inside a private network.
Featured Server Snaps

Select any desirable feature for your server, I selected none because We will install them manually as per future requirements.
Installing System
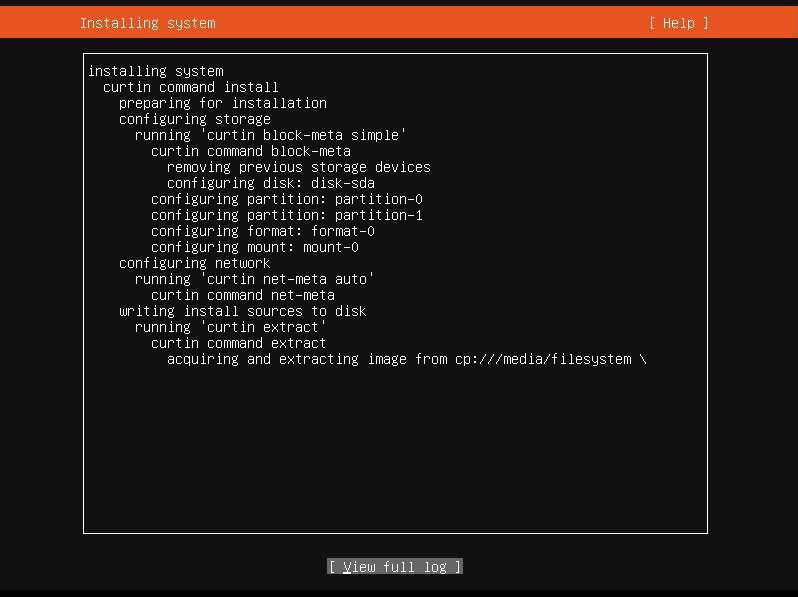
Now you have to wait for a few minutes for your system to install. After Installation is complete the prompt will ask you to remove your USB device and reboot. Follow the reboot process and the system will automatically boot up. And You will see a terminal like this
There you go ! you have turned your old laptop into a personal home server.
4. Changing the root password
Type the following commandsudo -i
It will ask for your password.
After entering your password you will be logged in as root with # sign
Type the command
passwd
Type suitable root password twice and you have changed your root password
Type exit to exit as root
Type su to log in as root
5. Connecting Your server via Wi-Fi.
Assuming you still have your ethernet wire plugged in, Install the following packagesrfkill , wireless-tools , net-tools and wpasupplicant
With following commands
sudo apt install rfkill wireless-tools net-tools wpasupplicant
After installing them go through the following link for detailed explanation to connect to your WiFi
After a reboot plug out the ethernet cable run the following command
ifconfig
and view the private ip address.
Now from another computer
If you are using windows download Putty or if you are Linux or MacOS user run the command
ssh username@ip_addr
Enter your password
Voila! You have just accessed your system inside your private network.
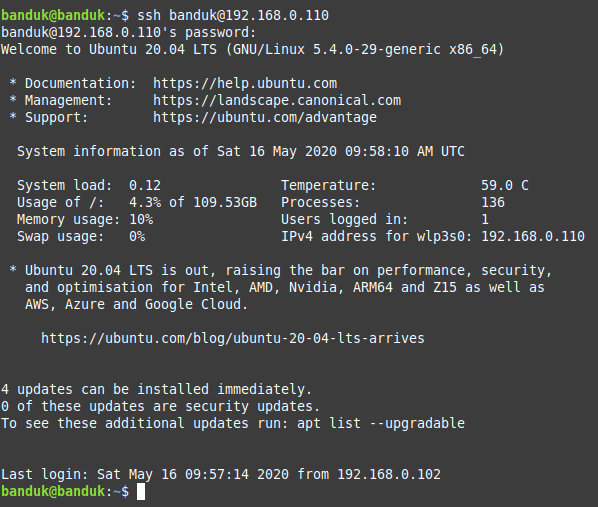
*** you will see a welcome screen like this***
6. Installing Webmin

Webmin is a web-based interface for sysadmins. Using any modern web browser, you can setup user accounts, Apache, file sharing and much more. Webmin removes the need to manually edit Unix configuration files like /etc/passwd, and lets you manage a system from the console or remotely.
Follow this guide to install webmin.

For Sell
Cool Things to do with this home server.
- Store Backup of your files
- Install a LAMP server to run websites.
- Install SMTP server to send mails.
- Use it as a database backup server.
- Test your Apps on this server before deploying them.
- Create a private git repository server.
- Save your videos and music and stream them over the web.
- For machine learning enthusiast save your training data on this server and train your model so that there is less stress on your working machine(It requires high end server)
- Use it as a ftp server.
- Install nginx to run and test web apps.
- Download and install OwnCloud to maintain your files.
Popular Posts
Tags
Computer tricks
Hi there,
ReplyDeletethis is a very good blog I appreciate your work. thanks for sharing such a useful information.
Visit my blog